How to Use OSX’s Automator to be an Automated Badass
Published: August 22, 2012What is Automator?
The Automator Icon
If you ask anyone in the Digital Relativity office how “Justin feels about Automator” they will all tell you how much I adore it, and how much I talk about it. Automator has (literally) saved me countless hours (possibly even days) and has made me vastly more productive. But for something that has made such a profound impact on my Workflow, and is free with every Mac, most people don’t event know what Automator is or how to use it.
Automator is a free tool that comes with every Mac for creating automated Workflows and Services (among other things) that can perform otherwise tedious and receptive tasks like scaling photos, renaming files, and even running command line scripts.
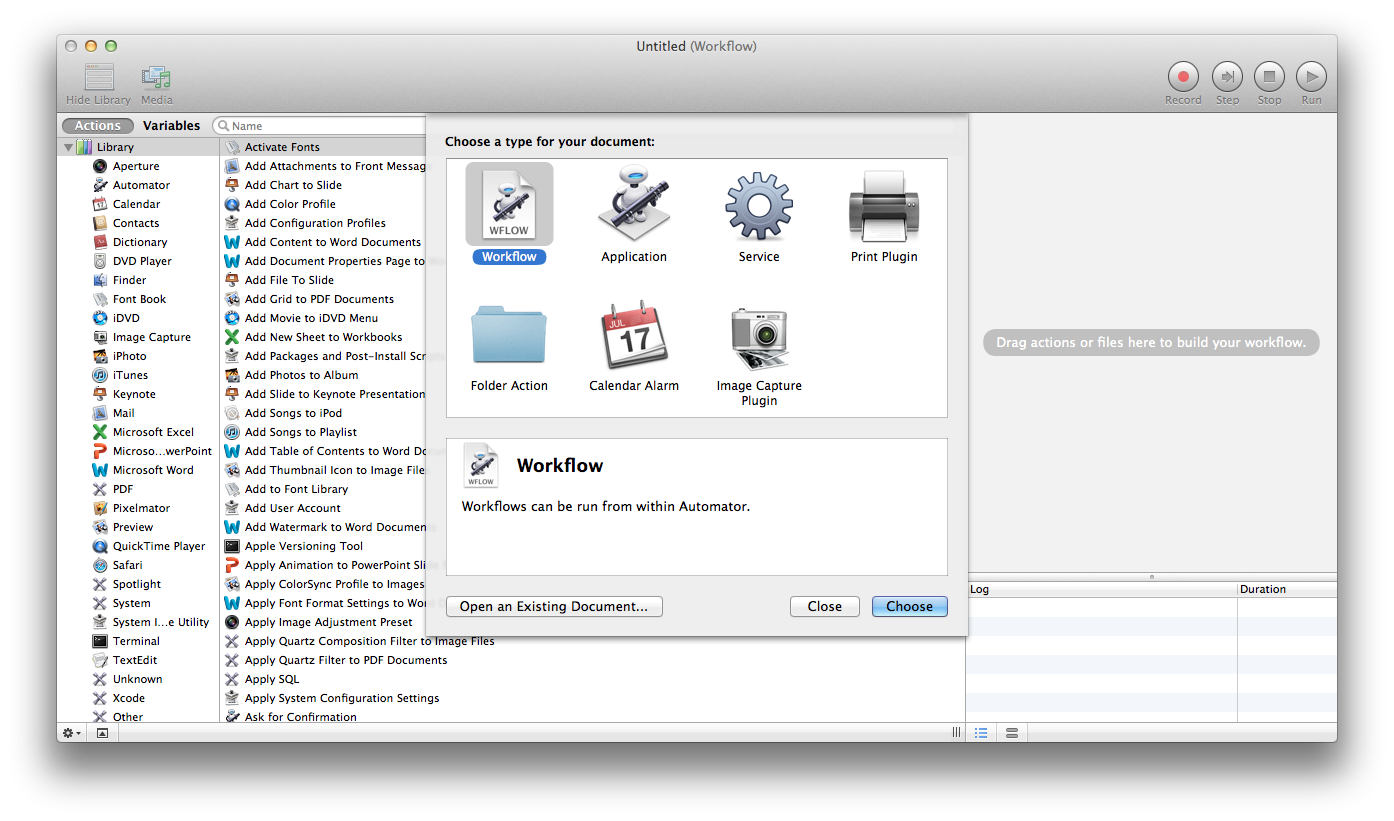
What are Workflows and Services?
Justin’s Workflows
A Workflow works a lot like the applications that we’re used to. It has an icon and you can put it in your Applications folder (or anywhere, really) just like any other application. An example would be an icon that you could drag an image onto that would scale the image, or an icon that you could drag a file onto to automatically rename it.

Justin’s Image Services
Unlike Workflows, Services have no icon. They can be accessed by right click on files and hovering over the Services option at the bottom of the menu. There you will see a list of not only the Services that you’ve made, but Services that are bundled with apps you’ve installed and Services that come with OSX.
How Does This Help Me?
As a mobile developer, I spend a lot of time managing and organizing application resources like graphics.For iOS, this means making sure we have two versions of every file, with a normal one and one that is double the normal size with “@2x” at the end of the name. The larger file is for devices with retina displays, which have double the resolution of a normal display, and thus require graphics at double resolution to avoid pixelation. Similarly, Android graphics are lumped into three major densities. There is “medium,” or MDPI. These are the graphics that most would consider to be the “normal” size. Then you also have “high” or HDPI, which is 1.5X larger, and “extra-high” or XHDPI, which is 2X larger.

Various Android Densities
For me, that means for every image that we use in both the Android and iPhone versions of an app, I have to make and name five different files. That doesn’t sound like a lot until we start looking at things like tabs, which require at least eight for the “normal” sizes, and then an additional eight for every other density. Scaling and renaming these files can quickly become quite time-consuming.
That’s why I made Add @2x, Make Non-Retina, Render MDPI from XHDPI and Render HDPI from XHDPI.
Using these services, I can generate and name only the biggest densities that I need, and Automator will copy, scale and rename the files for me, right from Finder. No copying, opening, scaling, saving, renaming, moving and double-checking. Just right click, Services, bam. Done.
Automator can tie into just about every application that comes on a Mac, and also works well with Microsoft Office, iWork, Font Book and even Pixelmator and Aperture.
Stop wasting time and start automating.
Are you using Automator to make your workflow more efficient? Let’s talk about it in the comments.